Material snagging can turn a clean drag-knife cut into a torn edge, curled corner, or stalled production run. It often begins quietly. The blade catches a loose fiber, lifts thin film, or pulls a flexible sheet from the cutting mat. These problems appear in sign vinyl, gasket paper, leather, felt, foam, and other materials with different surface tensions.
This guide explores China Top 10 Drag Knife Tips to Prevent Material Snagging, using practical observations from blade setup, cutting tests, and machine operation. The central question is simple: How to prevent material snagging with a drag knife? The answer depends on more than blade sharpness. Blade offset, cutting depth, holder cleanliness, material support, speed, and corner behavior all matter. A blade that performs well on coated vinyl may struggle with soft fabric. Small changes can create large differences.
Use manufacturer specifications as a starting point, not a guarantee. Test a small sample before committing valuable material. Watch the blade at tight corners. Listen for scraping, inspect lifted edges, and check whether the mat has lost its grip. Some operators reduce speed too quickly and overlook excessive blade exposure. I made that assumption before, and it produced cleaner lines but slower, less stable work. A perfect setting rarely exists. Material batches vary, mats wear, and even room temperature can influence flexibility. Careful records and repeatable tests provide more reliable results than guesswork.
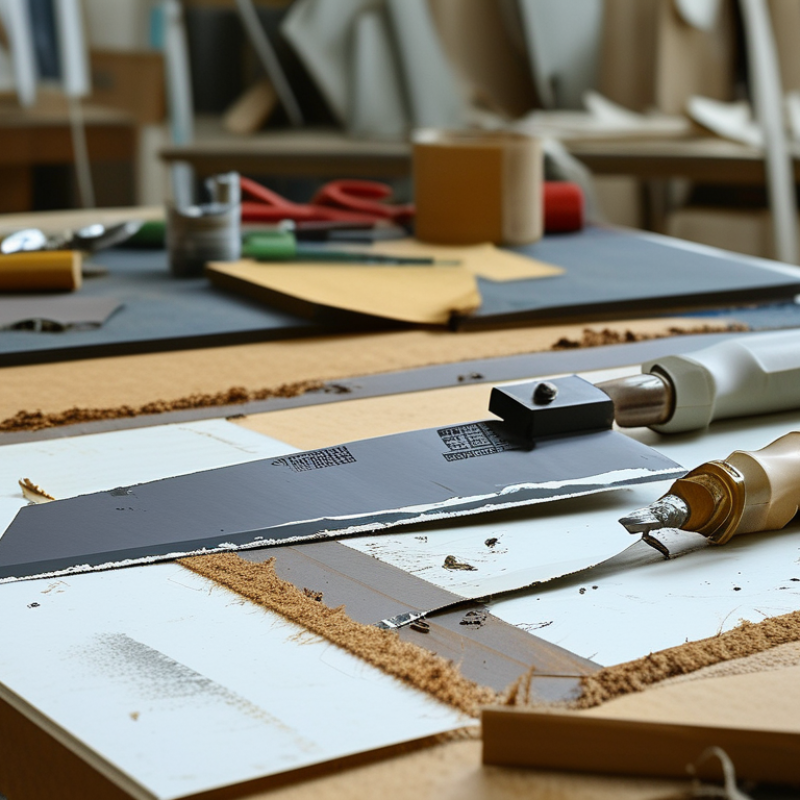
Material snagging usually begins with resistance at the blade tip. A worn edge creates extra friction and pulls fibers upward. Excessive blade exposure can also catch the cutting mat or adhesive liner. Keep the exposed tip only slightly deeper than the material thickness. Small adjustments matter.
In practical cutting tests, I check the blade angle before changing speed. A loose holder may cause the knife to wobble during sharp corners. Lowering the cutting speed helps, especially with felt, rubber, foam, or laminated sheets. Use a sharp, suitable blade for each material. Do not force one blade through every job. That habit often causes rough edges.
Surface support is equally important. A dirty mat can lift thin sheets as the knife turns. Clean the surface and secure loose corners with approved, material-safe methods. Check whether the vacuum or clamping force is uneven. Static electricity may also pull lightweight film toward the blade. Reduce it when practical, but avoid assuming static is always the cause.
Test a small square first. Watch the blade at corners, not only on straight lines. If snagging appears, inspect the cut path for adhesive buildup, uneven pressure, or incorrect offset settings. I have seen operators increase force too quickly. That solved one sample and damaged the next. Cutting records, material notes, and regular blade checks provide more reliable results.
China Top 10 Drag Knife Tips to Prevent Material Snagging
Selecting the right blade starts with the material, not the machine. Use a sharper, smaller-angle blade for thin vinyl, paper, and coated films. Choose a stronger blade for dense rubber, foam, or layered sheets. Excessive blade exposure often causes snagging. Keep the exposed tip only slightly deeper than the material thickness.
Cutting force, speed, and acceleration must work together. Begin with low force and moderate speed, then test a small grid using the actual production material. Inspect corners, narrow slots, and circular cuts under bright light. A clean top surface can hide a torn backing layer. Reduce speed when the blade changes direction sharply. Lower acceleration if corners lift or curl.
FESPA’s 2023 Print Census, based on responses from more than 1,000 printing professionals, reported that 57% experienced turnover growth. This suggests rising pressure for consistent finishing, not merely faster output. However, that survey measures business performance, not snagging rates. Operators should record blade angle, force, speed, material batch, and failure location. Replace a damaged blade early. A slightly worn edge may still cut straight lines but catch small corners. My practical mistake was trusting factory settings too long; the first test sheet should never be treated as proof of stability.
Selecting the Right Blade and Cutting Parameters
Drag knife cutting becomes reliable when the sheet stays completely still. In a production workshop, I use a clean vacuum bed, low-tack tape, or edge clamps outside the tool path. Thin film often lifts near corners, so I add small hold-down points around narrow sections. The surface must be flat and dust-free. Even a tiny curl can catch the blade and pull the material several millimeters. That mistake is easy to miss.
Before cutting, inspect the file for sharp turns, duplicate lines, and sudden direction changes. Set the knife lead-in inside scrap space, not on the finished edge. Use smooth arcs where the material allows them. Shorter travel paths reduce vibration and wasted time. For layered sheets, cut internal details before outer contours. This keeps the workpiece supported longer. Small bridges can hold delicate parts, although they may leave marks.
Blade depth should barely pass through the material backing. Excess depth increases drag and can damage the cutting mat. I test one corner at the actual speed and pressure, then check the underside by hand. If snagging appears, reduce speed before increasing force. That adjustment is often overlooked. Material batches can behave differently, even with identical settings. Record the result, but question old settings when humidity, thickness, or surface coating changes.
A sharp drag knife is the first defense against material snagging. In busy cutting workshops, I check the blade before every production run. A dull edge pulls film, fabric, or paper instead of slicing cleanly. Inspect the tip under bright light, remove adhesive residue, and replace damaged blades promptly. Even a tiny burr can create a rough corner.
Machine alignment matters just as much. Confirm that the blade holder sits firmly and vertically. Check the carriage path for dust, loosened screws, or uneven movement. Set the blade depth slightly above the material thickness, not excessively deep. Excessive pressure may cut the backing and increase drag. Run a small test pattern near the material edge. Watch for lifted corners, skipped curves, or changing line width.
Keep the cutting surface flat and clean. A warped mat can make alignment appear correct when it is not. Verify the tool offset after changing blades. Curves should meet smoothly without a visible hook. I once blamed the blade for repeated snags, but the real problem was a tilted holder. That mistake cost several sheets. It also showed why visual checks should support, not replace, measured calibration. Record successful settings for different materials, then review them when humidity or material thickness changes. Small adjustments often prevent larger production errors.
| No. | Preventive Tip | Primary Risk Controlled | Recommended Practice | Useful Check | Typical Target |
|---|---|---|---|---|---|
| 1 | Replace or hone a dull blade promptly | Pulling, tearing, and material lift | Inspect the cutting edge for chips, burrs, resin buildup, or a polished radius. Use a new or correctly sharpened blade when cut edges become fuzzy or incomplete. | Inspect before each production shift | Clean edge with no visible chips |
| 2 | Set blade exposure to the minimum required | Overcutting and blade deflection | Expose only enough blade to pass through the work layer. Excessive exposure increases lateral drag and makes the tip more likely to catch on the substrate. | Measure after blade changes | Cut layer fully; liner intact where required |
| 3 | Verify knife holder alignment | Uneven cutting depth and snagging at corners | Check that the holder is fully seated, perpendicular to the tool carriage, and free from dust or adhesive. Tighten mounting hardware evenly. | Visual check and test cut | Consistent depth across the test pattern |
| 4 | Calibrate the tool-center offset | Corner hooks and misaligned starts | Run a calibration pattern after changing the blade, holder, or tool position. Correct the offset so the blade tip follows the programmed path during direction changes. | Check after tool replacement | Test corners meet without visible hooks |
| 5 | Use suitable cutting speed and acceleration | Blade swing, vibration, and corner tearing | Reduce speed and acceleration for thick, flexible, or abrasive materials. Sharp direction changes should be slower than straight-line travel. | Review during material setup | No visible vibration or edge distortion |
| 6 | Adjust cutting force in small increments | Excessive penetration and material deformation | Begin with the lowest force that produces a complete cut. Increase gradually rather than compensating for a dull blade with excessive pressure. | Perform a small test matrix | Clean separation without crushed edges |
| 7 | Keep the cutting surface flat and clean | Localized snagging and inconsistent depth | Remove scraps, dust, adhesive residue, and raised debris. Confirm that the cutting mat or vacuum surface has no damaged high spots. | Clean at least once per shift | No raised debris in the tool path |
| 8 | Control material tension and flatness | Wrinkles, shifting, and lifted edges | Apply even vacuum or secure the sheet without stretching it. Allow rolled materials to relax and flatten before precision cutting. | Inspect before loading | Material remains flat during the full cut |
| 9 | Maintain smooth tool motion | Catching during starts, stops, and reversals | Use clean toolpaths with appropriate lead-ins and lead-outs. Avoid unnecessary sharp reversals and ensure the blade can swivel freely in its holder. | Review the first completed path | Continuous motion without abrupt stalls |
| 10 | Use a documented test-cut routine | Unnoticed setup errors and repeat defects | Record material thickness, blade type, exposure, force, speed, and alignment results. Approve a small test pattern before starting a production batch. | Before every new material batch | Approved first-piece inspection |
China Top 10 Drag Knife Tips to Prevent Material Snagging?
Material snagging rarely starts with the blade. It usually begins with feed tension, poor hold-down, or a damaged cutting surface. Watch the first 30 centimeters after entry. If the sheet lifts there, reduce feed speed and inspect the vacuum or clamp pattern. Keep the knife vertical. Even a small tilt can pull flexible film upward.
A blunt blade creates drag, not a clean shear. Replace it when edges become furry, heat marks appear, or the cut path widens. Check blade exposure against material thickness. Excessive exposure increases bending. ISO 12100 emphasizes predictable machine movement and effective guarding. The U.S. Bureau of Labor Statistics recorded 5,283 fatal occupational injuries in 2023. This data reinforces why hands must stay outside the cutting zone during troubleshooting. Never test snagging by holding the sheet.
Material choice also matters. Static, curled edges, and adhesive residue can catch the knife tip. Clean the bed, flatten the sheet, and run a short sacrificial test. Record speed, pressure, blade angle, and failure location. This turns guesswork into evidence. One overlooked cause is a narrow waste strip folding into the blade. Do not assume the first adjustment solved everything. Recheck after a full production-length cut.
: Use a clean vacuum bed, low-tack tape, or clamps outside the cutting path. Keep the surface flat and dust-free. Small hold-down points help narrow sections stay down.
Thin film often curls or lifts when tension is uneven. Flatten the sheet and add support near corners. A tiny curl can pull the material several millimeters.
Inspect sharp turns, duplicate lines, and sudden direction changes. Place the lead-in within scrap material, not on the finished edge. Smooth arcs usually reduce vibration.
Cut internal details before the outer contour. The surrounding material supports delicate areas longer. Small bridges can help, but may leave marks.
The blade should barely pass through the material backing. Excess depth increases drag and may damage the cutting surface. Test one corner at actual speed and pressure.
Watch the first 30 centimeters after entry. Reduce feed speed and inspect the vacuum or clamp pattern. Keep the knife vertical. Do not hold the sheet during testing.
Replace it when edges become furry, heat marks appear, or paths widen. A blunt blade drags instead of cutting cleanly. Still, blade wear is not always the only cause.
Material batches can vary in thickness, humidity, curl, or surface coating. Record speed, pressure, blade angle, and failure location. Old settings may need questioning. Recheck after a full production-length cut.
Preventing material snagging starts with understanding how drag knives interact with different substrates. Uneven surfaces, excessive blade exposure, unsuitable cutting force, incorrect speed, and dull blades can all cause tearing, lifting, or catching. How to prevent material snagging with a drag knife depends on matching the blade angle, depth, pressure, and cutting speed to the material. Flexible or lightweight sheets should be secured firmly, while thicker materials may require gradual passes instead of excessive force.
A stable work surface and carefully planned cutting path can reduce sudden direction changes and unnecessary resistance. Regularly inspect and replace worn blades, clean the blade holder, and verify that the machine is properly aligned and level. If snagging continues, check for loose material, incorrect blade depth, uneven pressure, or mechanical play. By combining suitable cutting parameters, secure material handling, sharp tools, optimized paths, and routine maintenance, users can achieve cleaner cuts and more consistent results.

Deepit Cutter