What Is Kiss Cut Knife Depth and How to Calibrate It?

Time:2026-09-17 Author:Charlotte
0%

Kiss cutting looks simple: the blade cuts the label, not the release liner. Yet a fraction of a millimeter can decide whether production runs smoothly or creates waste. Kiss cut knife depth controls that boundary. Too shallow, and labels remain attached. Too deep, and the liner tears, feeding becomes unstable, and removal becomes frustrating.

This issue matters beyond appearance. The FINAT European Label Industry Survey 2024 identifies waste reduction, productivity, and process consistency as continuing priorities for label converters. Smithers’ report, The Future of Digital Print for Packaging to 2028, also highlights automation and quality control as important forces in modern packaging production. These reports do not prescribe one universal blade setting. They reinforce a practical truth: calibration must match the material, equipment, and production speed.

So, How to calibrate the depth of a kiss-cut knife? The reliable method begins with the substrate stack. Check the face material, adhesive, liner, blade angle, and machine pressure. Start conservatively. Run a small test matrix, inspect the liner under light, and measure whether labels peel cleanly without lifting fibers. Record each setting. Repeat after blade replacement or material changes.

Small details matter.

A useful calibration guide should explain both the measurement and the judgment behind it. Manufacturer manuals, ISO 12647 process-control principles, and documented shop-floor tests provide stronger guidance than guesswork alone. Still, no setting remains perfect forever. Temperature, adhesive behavior, blade wear, and operator handling can change results. This article examines those variables clearly, while acknowledging that calibration is a controlled experiment—not a one-time adjustment.
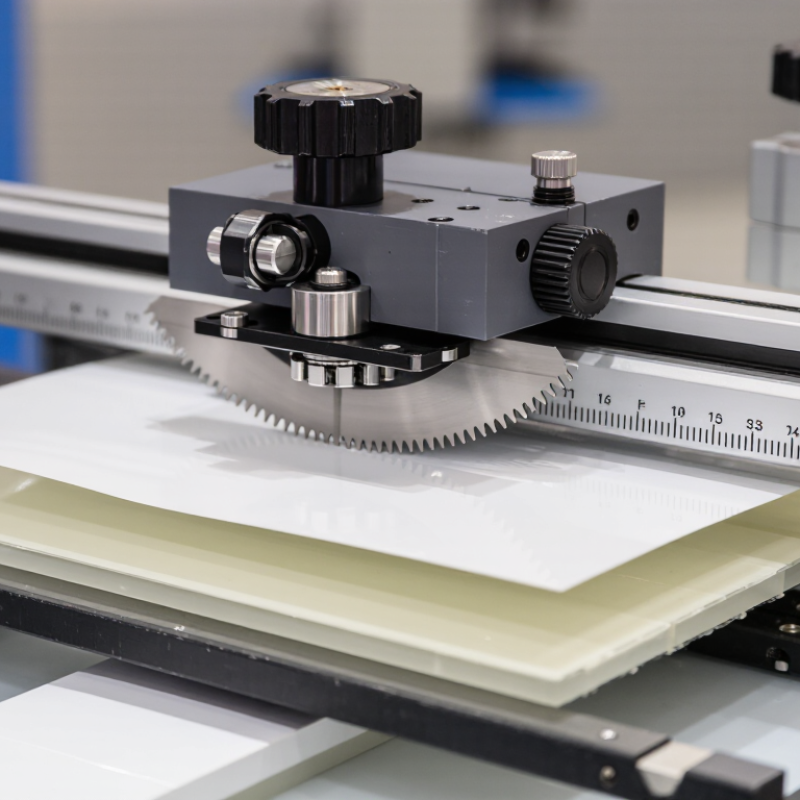
What Is Kiss Cut Knife Depth and How to Calibrate It?

Define Kiss Cutting: Cut the Facestock and Adhesive, Not the Liner

What Is Kiss Cut Knife Depth and How to Calibrate It?

Kiss cutting means cutting the facestock and adhesive without cutting the liner. The liner stays intact as a stable carrier for the finished labels. This controlled separation allows clean peeling, accurate dispensing, and less waste during production. A knife set too deep may score or cut the liner. A knife set too shallow may leave uncut areas and torn edges.

Knife depth depends on material thickness, adhesive strength, blade condition, and machine pressure. Calibrate it with a small test strip from the actual production roll. Set the blade slightly above the liner, then increase pressure or depth in small steps. Avoid large adjustments. They can hide the true cause of poor cutting. Inspect the liner under strong, angled light. A faint line can be acceptable, but a continuous cut is a warning sign.

Peel several labels by hand and examine their edges. They should release smoothly, without lifting adhesive or tearing the facestock. Check small shapes and sharp corners, because they often reveal calibration problems first. Record the setting, material lot, room temperature, and test result. Conditions change. A setting that worked yesterday may fail after storage or a blade change. In practice, I would not trust one successful sample. Run repeated strips across the web, since pressure can vary from side to side. Perfect calibration is less common than we admit. Careful inspection remains essential.

What Is Kiss-Cut Knife Depth and How to Calibrate It?

Kiss cutting cuts through the facestock and adhesive while leaving the release liner intact. The target knife depth is set slightly beyond the combined facestock and adhesive thickness, with only minimal penetration into the liner.

The values show representative material constructions in micrometres. Use the target depth as a starting point, then make test cuts and reduce or increase knife pressure and depth until the liner remains continuous without weakening the label release.

Measure Material Layers: 50–100 μm Facestock and 50–150 μm Liner

Kiss cut knife depth depends on the material stack, not only the machine setting. The facestock usually measures 50–100 μm, while the liner may measure 50–150 μm. These layers can look similar, but they behave differently under pressure. The facestock receives the cut. The liner should remain intact.

Measure each layer with a calibrated micrometer before adjusting the blade. Take readings from several points, because adhesive coating can create small variations. Record the facestock thickness separately from the liner thickness. Do not rely on the total roll thickness alone. A 75 μm facestock over a 100 μm liner needs a different setting from a 100 μm facestock over a 50 μm liner.

Begin with a shallow blade position. Run a short test pattern at low speed. The label should weed cleanly, while the liner should show no continuous cut line. Increase depth in small steps, such as 5–10 μm, and inspect the release side under angled light. I sometimes see a faint mark and assume the liner is damaged. That assumption can be wrong. Check whether the mark breaks under gentle bending. Also test several labels across the web, not one sample. Material tension, blade wear, and adhesive variation can change the result. The best setting usually sits slightly above the facestock thickness, but it must be verified through repeated samples. Calibration is never perfectly permanent.

Select Blade Exposure: Start at 0.10–0.30 mm Below Total Stock Thickness

What Is Kiss Cut Knife Depth and How to Calibrate It?

Kiss cutting separates the face stock without cutting through the release liner. Start with accurate thickness data. Measure the face stock, adhesive, and liner at five points with a calibrated micrometer. Record the thickest result, not the average. Use total stock thickness as the ceiling, then set blade exposure 0.10–0.30 mm below that measurement. This small gap protects the liner while maintaining clean weeding. For example, if total stock thickness is 0.45 mm, begin near 0.15–0.35 mm exposure. Confirm the result with a 50 mm test grid.

Pressure must remain controlled. Increase it in small steps, such as 0.02 mm or the machine’s nearest setting. Inspect the liner under angled light. A faint score may be acceptable, but a continuous cut usually signals excessive exposure. Too deep.

FINAT’s 2024 RADAR report recorded a 0.4% contraction in European self-adhesive label demand during 2023. This matters because slower production often encourages material changes and mixed roll inventories. Smithers’ label and release-liner market research also highlights downgauging and thinner constructions through 2028. Thinner stock can make an old knife setting unreliable. I have found that one roll may need a different setting from the next, even with the same nominal specification. That is inconvenient, but real. Check weed force, liner marks, and finished edge quality after every material change. A perfect first setting is uncommon. Calibration deserves another look.

Calibrate Pressure in 0.01 mm Steps Using a 10–20 mm Test Pattern

Kiss cut knife depth controls how deeply the blade enters a top layer without cutting the backing liner. The correct setting depends on material thickness, coating, blade sharpness, and cutting speed. In practice, pressure alone does not guarantee a clean result. A sharp blade can cut too deeply even at a modest setting.

Use a simple 10–20 mm test pattern, such as a small square or circle. Place it near the actual production area. If the cutter displays pressure as a depth-equivalent value, adjust it in 0.01 mm steps. Start slightly below the expected depth, then increase one step at a time. After each test, remove the shape by hand. The face layer should separate smoothly, while the liner should remain intact and show only a faint mark.

Inspect corners and narrow sections carefully. Clean cuts may still hide liner damage. I usually test three nearby settings and record the material batch, blade condition, and speed. This makes the result easier to repeat. However, the first successful setting is not always the best one. Humidity, adhesive age, and small thickness changes can alter the outcome. If the liner tears, reduce pressure or depth. If the shape resists peeling, increase the setting by only 0.01 mm. Tiny changes matter.

Verify Results with ASTM D1000 and FINAT FTM Peel-Test Methods

Kiss cut knife depth is not confirmed by appearance alone. A clean label edge can still hide a damaged liner. Set the blade to cut through the face material and adhesive, while leaving the release liner continuous. Make small depth adjustments, then inspect the cut under magnification. Check for lifted liner fibers, incomplete separation, and excessive cutting force.

Peel testing provides stronger evidence. ASTM D1000 can assess pressure-sensitive tape adhesion under controlled conditions. Use consistent specimen width, panel preparation, dwell time, peel angle, and peel speed. Record temperature and humidity too. These details matter. A stainless-steel panel with fingerprints may produce misleading results.

For self-adhesive label materials, the applicable FINAT FTM peel-test method can verify release and adhesion behavior. Prepare several specimens, not just one successful sample. Compare peel force, failure mode, and cut quality after calibration. Adhesive transfer suggests excessive penetration, while unstable peeling may indicate poor conditioning or uneven blade depth. Use a calibrated force-measuring system and preserve raw readings.

I have found that “perfect” cuts can fail after storage overnight. That result deserves investigation, not dismissal. Liner tension, adhesive aging, and minor depth changes can alter performance. Keep a calibration log with blade setting, material lot, test conditions, and operator observations. Repeat the test when results seem unusually convenient. Reliability often begins with questioning a clean-looking result.

FAQS

Why must facestock and liner thicknesses be measured separately?

They respond differently to pressure. Measure both layers with a calibrated micrometer. Do not rely on total roll thickness alone.

What thickness ranges are common for these label materials?

Facestock often measures 50–100 μm. Liner thickness commonly measures 50–150 μm. Adhesive coating may create small variations.

How should the initial knife setting be selected?

Start with a shallow blade position. Use total stock thickness as the ceiling. Begin 0.10–0.30 mm below that measurement.

How can an operator confirm a clean kiss cut?

Run a short test pattern at low speed. The label should weed cleanly. The liner should remain continuous.

What should be done when the liner shows a faint mark?

Inspect the release side under angled light. Bend the liner gently. A broken mark may be harmless, but a continuous line signals excessive depth.

How should blade depth be adjusted during testing?

Increase depth in small steps, such as 5–10 μm. Some machines may use 0.02 mm increments. Test several labels across the web.

Which factors can change the correct knife setting?

Material tension, blade wear, adhesive variation, and thinner stock can affect results. One roll may need a different setting.

How can peel testing support visual inspection?

Use consistent specimen width, peel angle, speed, temperature, and humidity. Record peel force and failure mode. Appearance alone can mislead.

What records should be kept after calibration?

Log the blade setting, material lot, test conditions, and operator observations. Repeat testing after storage or material changes. Perfect settings rarely stay perfect.

Conclusion

Kiss cutting is a precise process in which the blade cuts through the facestock and adhesive while leaving the release liner intact. To establish the correct setting, first measure each material layer, typically including a 50–100 μm facestock and a 50–150 μm liner. The combined thickness provides a reference for setting the blade, with an initial exposure positioned approximately 0.10–0.30 mm below the total stock thickness. This starting point helps prevent excessive penetration into the liner.

How to calibrate the depth of a kiss-cut knife involves making controlled adjustments rather than relying on pressure alone. Begin with a 10–20 mm test pattern and adjust the pressure or blade position in 0.01 mm increments. After every change, inspect whether the label separates cleanly while the liner remains uncut or only lightly marked. Final performance should be confirmed through suitable adhesion and peel evaluations, including ASTM D1000 and FINAT FTM methods, to ensure consistent cutting quality and reliable label release.

Charlotte

Charlotte

Charlotte is a seasoned marketing professional with a deep understanding of the company's portfolio and a passion for elevating its presence in the market. With a keen eye for detail and a commitment to excellence, she ensures that our professional blog is regularly updated with insightful articles......