Adhesive residue can turn a clean cut into a ragged one. It may also collect dust, snag material, and make a blade harder to inspect. How to clean adhesive residue from cutting blades depends on the adhesive, blade material, and tool design. A label adhesive may soften with a little warm, soapy water, while a cured tape adhesive may need a manufacturer-approved cleaner. One method does not fit every blade.
Start with safety. Switch off and unplug powered equipment, then follow the tool manual before handling or removing the blade. Wear cut-resistant gloves where appropriate, and keep fingers away from the edge. Use a soft cloth or plastic scraper, working away from the cutting edge rather than toward it. Apply cleaner to the cloth, not directly into a tool’s moving parts. Give residue time to soften. Scrubbing harder is not always better.
This guide explains practical cleaning steps, cleaner selection, and drying checks for common cutting blades in 2026. It also covers mistakes that can dull an edge, damage a coating, or leave residue behind. Check product labels and blade-maker guidance, especially before using alcohol or citrus-based solvents; some finishes may react poorly. Then dry the blade completely and inspect it under good light before reuse. A faint sticky patch can be easy to miss. If residue remains, pause and reassess rather than reaching for a harsher chemical. That extra moment matters. Cleaning should restore safe, predictable cutting—not create a new risk.
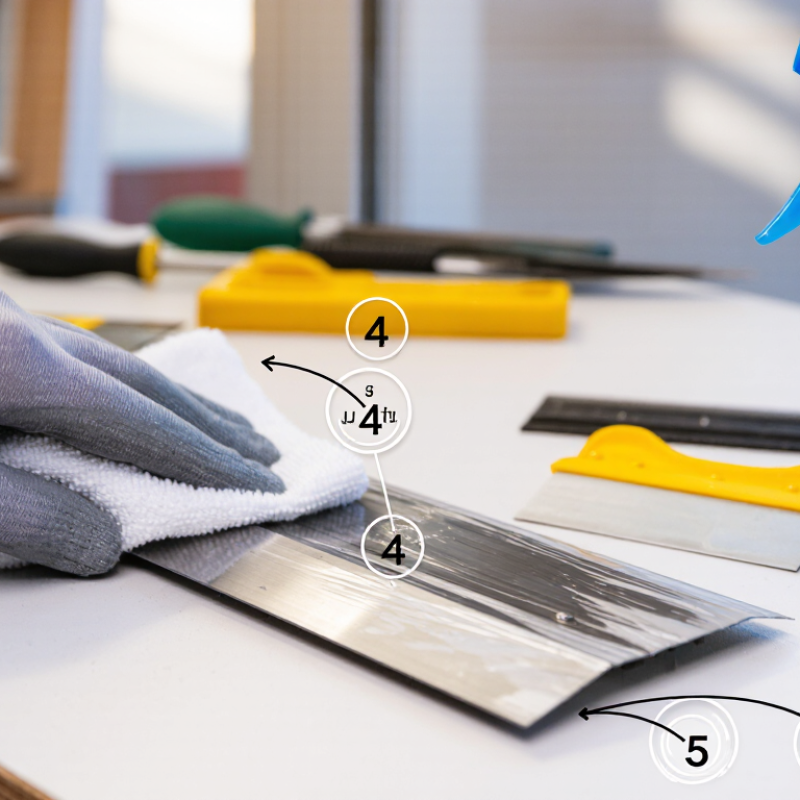
Before cleaning a cutting blade, identify what is stuck to it. Pressure-sensitive tape residue often feels tacky and stretches into thin strings. Hot-melt adhesive may form a thicker, rubbery smear. Dried glue can look hard and flaky. That distinction matters. A soft smear may spread when rubbed, while a brittle deposit can chip. I have mistaken clear adhesive for oil before; a careful look under bright light would have saved time. Note the residue’s color, texture, and location, especially near the edge.
Next, identify the blade material and any coating. Stainless steel usually resists rust better than carbon steel, but neither should be soaked without checking care instructions. Coated blades may scratch or lose their finish if scraped aggressively. Ceramic blades can chip under pressure. Do not guess. Check the blade packaging or equipment manual, and keep the machine unplugged during inspection. If the material remains uncertain, test a cleaning method on a hidden area first. A cotton swab is useful for that small check. Stop if the surface dulls, discolors, or feels rough; I would rather pause than damage a blade by assuming all metal responds alike.
| Residue Type | How to Identify It | Blade Material or Surface | Suggested Cleaning Method | Precautions |
|---|---|---|---|---|
| Pressure-sensitive tape or label adhesive | Often tacky or rubbery; may remain after tape or a label is peeled away. | Uncoated stainless steel | Wipe with a soft cloth and warm water with mild dish detergent. If residue remains, try isopropyl alcohol on the cloth, then wipe clean and dry the blade. | Test alcohol on a small area first. Keep fingers away from the edge and do not leave the blade wet. |
| Pressure-sensitive tape or label adhesive | Sticky film or small gummy patches, commonly left by labels and packing tape. | Carbon steel | Lift softened residue gently with a plastic scraper or cloth. Use a small amount of a compatible cleaner, then dry the blade promptly. | Carbon steel can rust; avoid soaking and dry thoroughly. Apply a suitable protective oil after cleaning if appropriate for the blade's intended use. |
| Pressure-sensitive adhesive | Thin, tacky residue that smears when rubbed. | Coated, painted, or printed blade | Start with a dry soft cloth, then use mild soapy water if permitted by the blade instructions. Rinse with a damp cloth and dry. | Solvents and abrasive pads may damage coatings, markings, or finishes. Check the manufacturer's care instructions before using a solvent. |
| Hot-melt adhesive | Usually appears as a raised bead, string, or hardened lump; it may soften when warmed. | Uncoated stainless steel or carbon steel | Let the adhesive cool and carefully lift it with a plastic scraper, working away from the cutting edge. Clean any remaining film with a compatible cleaner. | Do not pull adhesive toward the edge. Avoid heating an assembled tool or blade; heat can cause burns or damage handles and coatings. |
| Water-based glue | May soften, turn cloudy, or become slippery when exposed to water; often dries into a thin film. | Stainless steel or other water-tolerant surfaces | Wipe with warm water and mild detergent. For dried residue, hold a damp cloth against the spot briefly, then loosen it gently and dry the blade. | Avoid prolonged soaking, especially around joints, handles, or carbon-steel parts. Dry promptly to reduce corrosion risk. |
| Cyanoacrylate (instant) adhesive | Typically dries into a hard, clear or white deposit that does not feel tacky. | Uncoated metal only, after checking compatibility | Carefully chip away raised residue with a nonmetallic tool. A small amount of acetone may soften some cyanoacrylate, but use it only if the blade and nearby materials are confirmed compatible. | Acetone can damage coatings, plastics, painted surfaces, and many handles. Use ventilation, keep it away from ignition sources, and avoid skin contact. |
| Silicone-based adhesive or sealant | Often rubbery or flexible after curing and may peel away in strips. | Stainless steel or coated blade | Lift cured material carefully with a plastic scraper. Use only a cleaner approved for the blade's surface if a film remains. | Silicone residue can be difficult to dissolve. Avoid sharp metal scraping and unverified solvents, especially on coated blades. |
| Any adhesive residue | Residue type is unknown, or the blade has a nonstick or specialty coating. | Ceramic, coated, or specialty blade | Begin with a soft cloth and mild detergent, following the blade's care instructions. Stop if the surface changes or the residue does not release easily. | Ceramic edges can chip; do not pry or use abrasive tools. Avoid solvents unless the manufacturer confirms they are safe for the blade and handle. |
Safety: Secure the blade before cleaning, work away from the cutting edge, and use appropriate hand protection. Never mix cleaning chemicals. Test any cleaner on a small inconspicuous area and follow the product label and blade-care instructions.
Check the blade material, coating, and care instructions first. Test a small, hidden spot and watch for discoloration or a dull surface.
No. Use only a small amount of a compatible cleaner on a cloth. Avoid soaking the blade or handle assembly unless instructions allow it.
Switch it off, disconnect it, and secure the blade using its locking procedure. Stop if the blade shifts during a gentle safety check.
Brush flakes away from the cutting edge with a soft, dry brush. For thicker residue, use a plastic scraper while the blade stays secured. No metal tools.
Follow the product instructions, ventilate the area, and wear suitable gloves. Apply a little to a cloth, then wipe along the blade, away from its edge.
Inspect both sides under a bright work light. Clear adhesive can be hard to see; I sometimes spot a missed fleck near the blade’s base.
Dry the blade fully with a clean, lint-free cloth. Check joints and seams with a dry cotton swab, then inspect for rust, tackiness, or edge damage.
If suitable for the blade material, apply a very thin oil film and wipe away excess. Store the blade somewhere dry, away from damp cloths. A quick wipe can be easy to overtrust.
How to clean adhesive residue from cutting blades begins with identifying both the type of residue and the blade material, since different surfaces may react differently to cleaning products. Choose a cleaner that is compatible with the blade, and follow its usage directions. Before cleaning, secure the blade so it cannot shift, then gently remove any loose residue without scraping in a way that could damage the edge.
For adhesive that remains, apply a small amount of the suitable cleaner and allow it to soften the residue. Wipe it away carefully with a soft cloth, repeating gently if needed rather than forcing the buildup. Once the blade is clean, dry it thoroughly and inspect it for remaining adhesive, moisture, or damage. A final protective step, such as applying a suitable rust-prevention treatment when appropriate, can help keep the blade in good condition before storage or use.

 Deepit Cutter